Signing in to Hoogly
When it’s time to have your first check-in, you will receive an email or a message from your manager with a link to Hoogly.
Step 1: Choose how to sign in
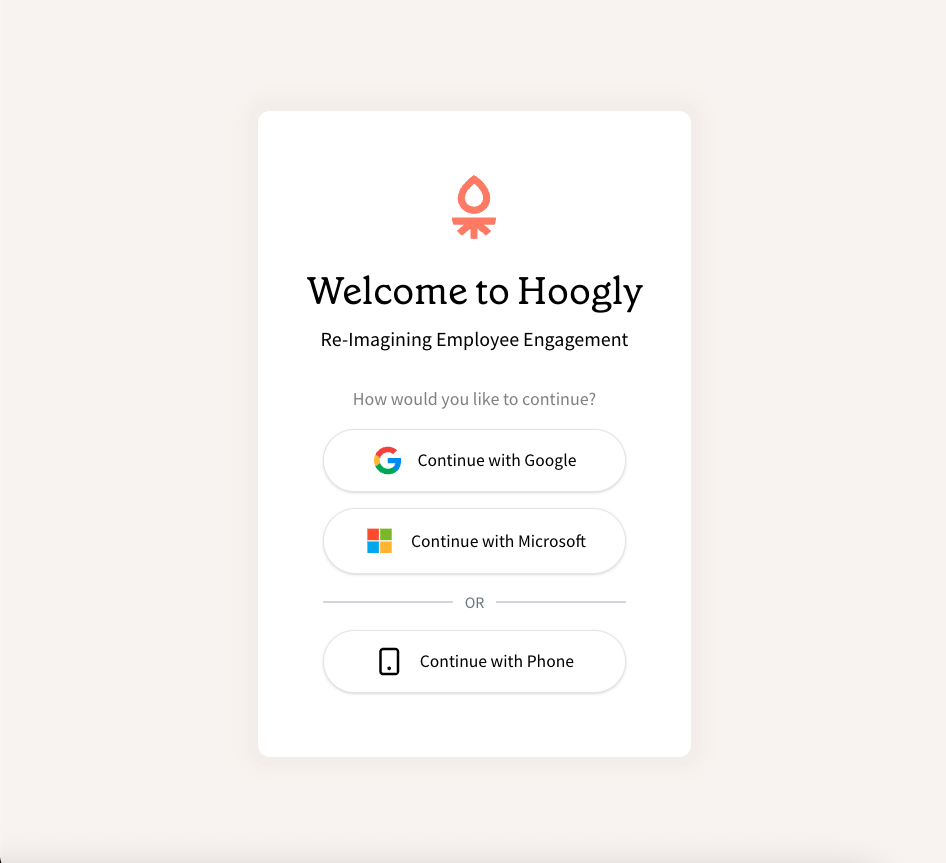
Section titled “Step 1: Choose how to sign in”First, you’ll see the Hoogly welcome screen. You can sign in using your company Google or Microsoft account, or with your phone number if your company has enabled it.
Important: Make sure you follow the instructions in your welcome email. If you sign in with the incorrect option, you may not be able to access your AI conversation.
Step 2: Authenticate your account
Section titled “Step 2: Authenticate your account”Depending on the option you choose, you will be asked to authenticate.
Continue with Google
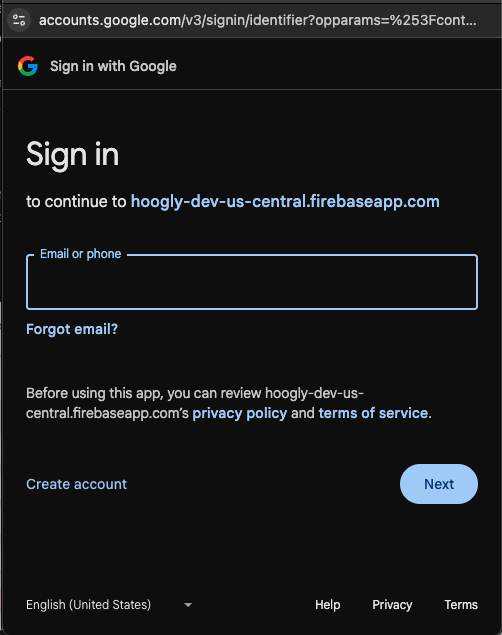
Section titled “Continue with Google”If you choose Google, you’ll be taken to a standard Google sign-in page.
- Enter your company email address.
- Complete the sign-in process.
Continue with Microsoft
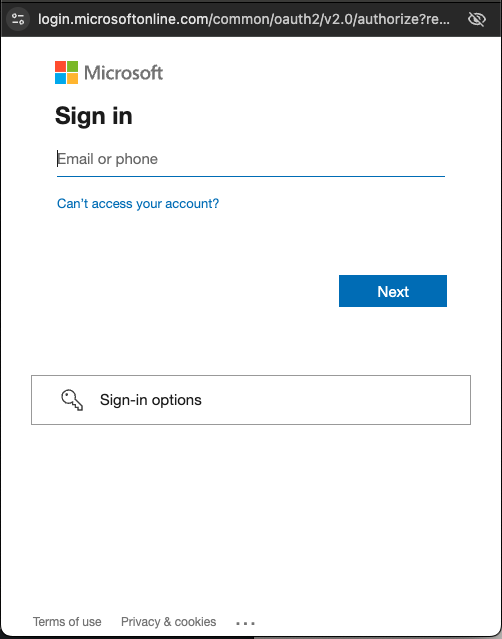
Section titled “Continue with Microsoft”If you choose Microsoft, you’ll be taken to a standard Microsoft sign-in page.
- Enter your company email address.
- Complete the sign-in process.
Continue with Phone
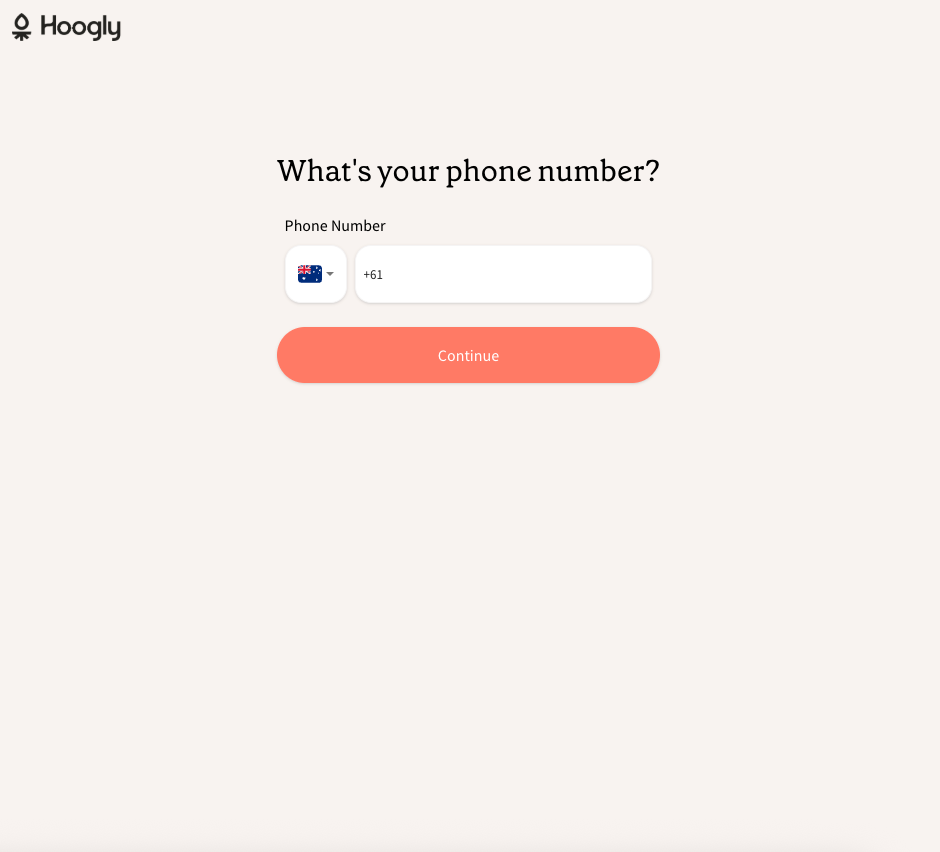
Section titled “Continue with Phone”If you choose to sign in with your phone, you will be asked to enter your number.
- Enter your phone number.
- You will receive a one-time code via SMS. Enter this code to complete the sign-in.
Step 3: Grant permission
Section titled “Step 3: Grant permission”After successfully authenticating, you will be asked to grant Hoogly permission to access basic profile information, like your name and email address. This is used to confirm your identity.
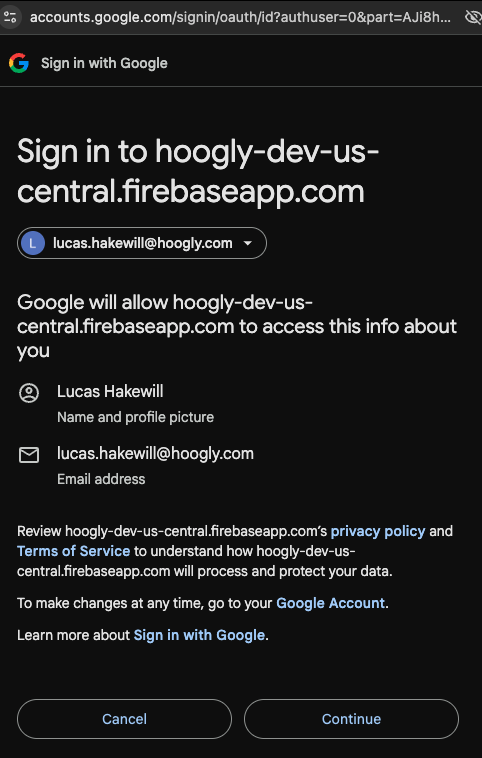
Once you grant permission, you’re in! You’re now ready to start your first AI conversation with Venn.